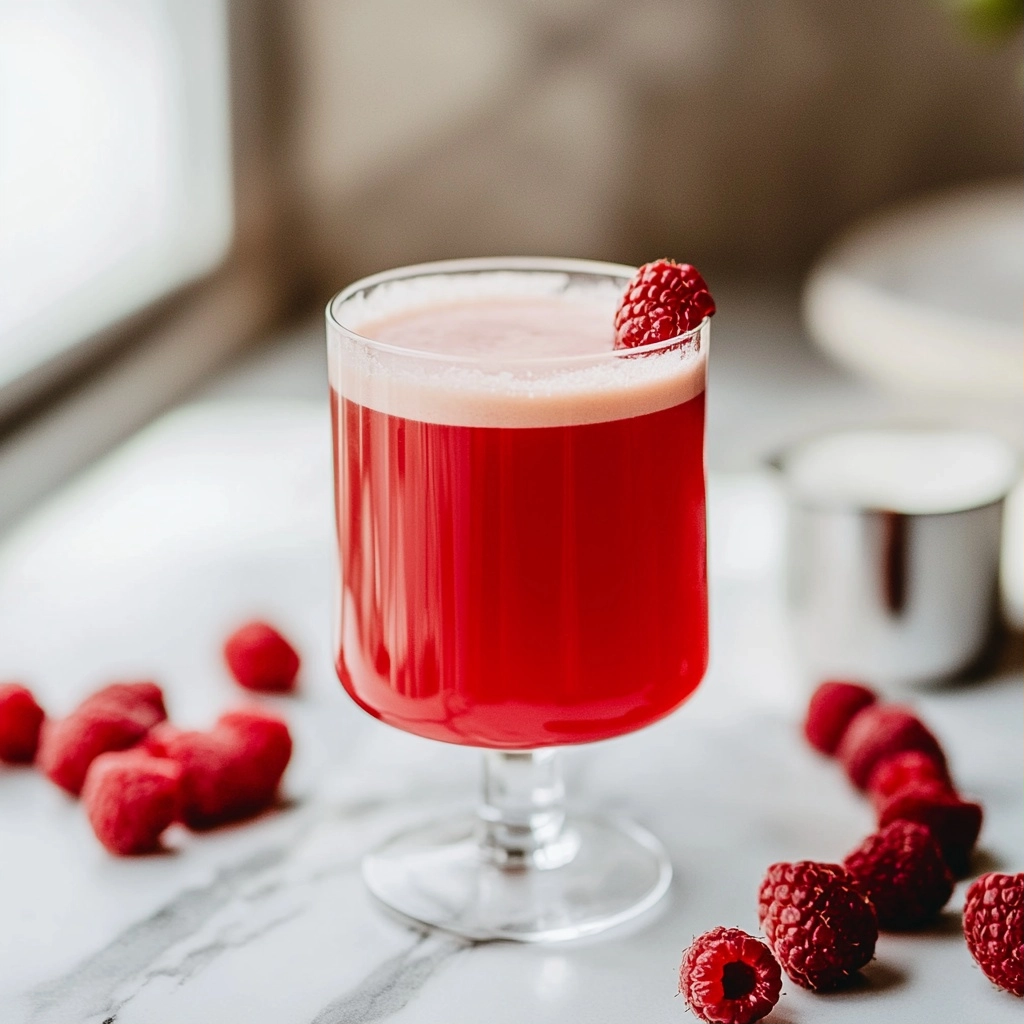
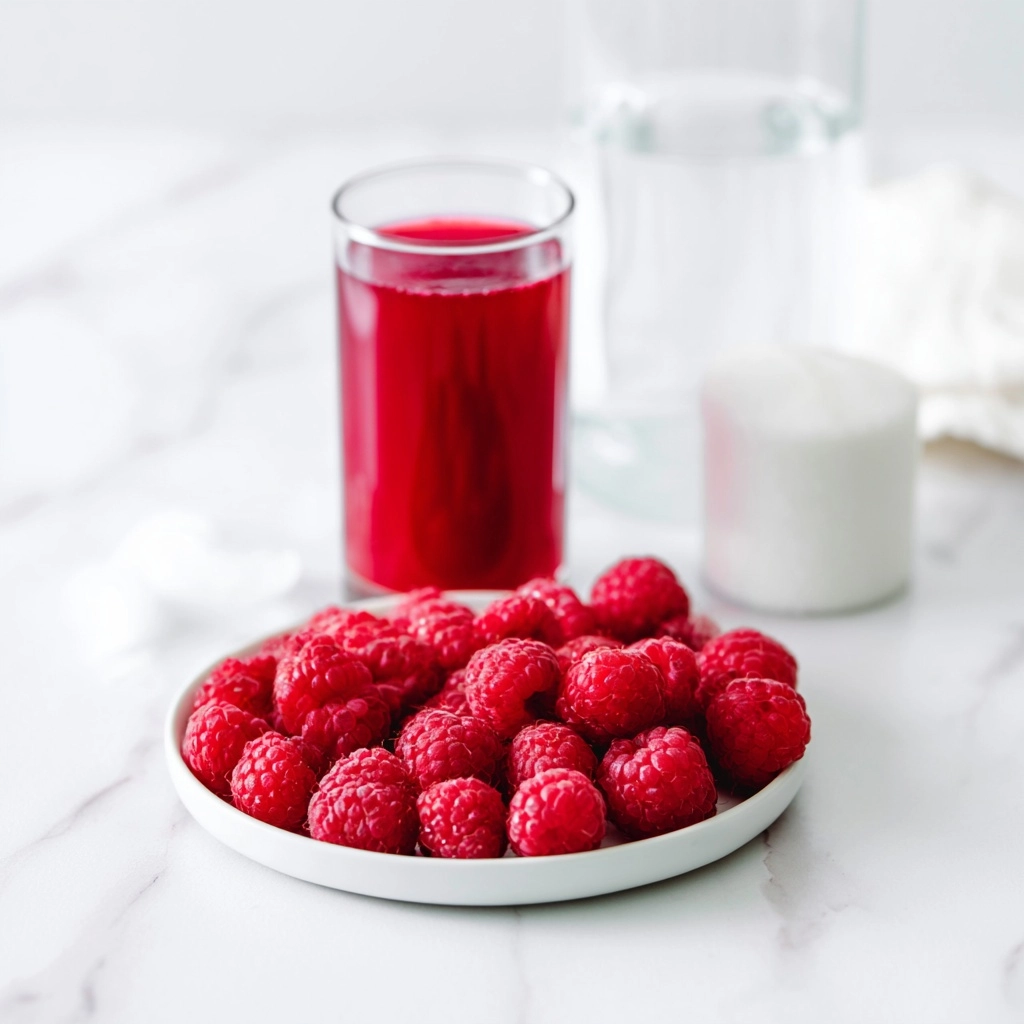
Homemade Raspberry Syrup
Homemade raspberry syrup offers a burst of vibrant, fruity flavor perfect for elevating your favorite beverages and desserts. This delightfully simple syrup captures the essence of fresh raspberries, transforming them into a versatile liquid treat. Its bright taste and beautiful crimson hue make it an instant crowd-pleaser, ideal for both everyday enjoyment and special occasions.
| Prep Time | Cook Time | Total Time | Servings | Difficulty | Cuisine |
|---|---|---|---|---|---|
| 5 minutes | 10 minutes | 15 minutes (plus cooling time) | Approx. 1.5 cups | Easy | Dessert / Beverage |
Why This Recipe Works
This recipe is a testament to the power of simple ingredients. By combining fresh raspberries, water, and sugar, we create a perfect balance of tartness and sweetness. The gentle simmering process extracts the full flavor from the berries without overcooking them. This ensures a bright, natural raspberry taste that complements rather than overpowers other elements.
The key to its success lies in the minimal ingredients and straightforward method. You don’t need special equipment or advanced culinary skills. The straining process is crucial for achieving a smooth, refined syrup. This clarity is what distinguishes a homemade raspberry syrup from a mere berry puree, allowing it to integrate seamlessly into drinks and drizzle beautifully over desserts.
Ingredients
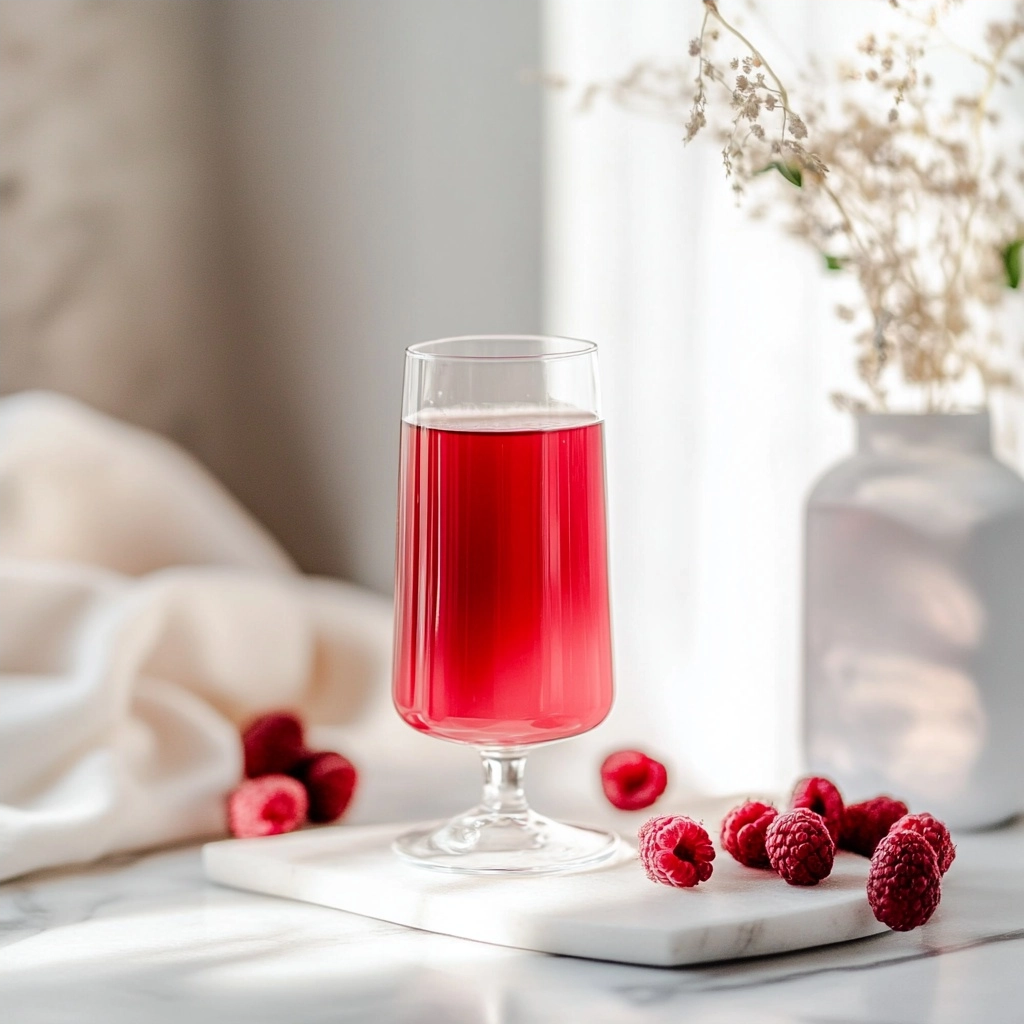
Homemade Raspberry Syrup: A Sweet Dream
Ingredients
Method
- Rinse and crush raspberries in a saucepan
- Add water and sugar, stirring until sugar dissolves
- Simmer gently for 10 minutes
- Let cool completely
- Strain through a fine mesh sieve, pressing solids with a spoon
- Transfer syrup to a clean bottle or jar
Notes
Filtered water prevents off-flavors
Store in airtight container in refrigerator for up to 2 weeks
1.5 cups total yield
1-2 tablespoons per serving recommended
| Ingredient | Quantity | Notes |
|---|---|---|
| Raspberries | 1 cup | Fresh or frozen work equally well. Use high-quality berries for the best flavor. Consider organic for a purer taste. |
| Water | 1 cup | Filtered water is recommended for the cleanest flavor profile. Tap water can sometimes impart subtle mineral notes. |
| Granulated Sugar | 1 cup | Standard white sugar provides sweetness without competing flavors. Avoid powdered sugar or brown sugar which can alter texture and taste. ([Internal Link Placeholder 1: Sugar Alternatives]) |
Step-by-Step Instructions
Preparation
Gather all your ingredients: raspberries, water, and granulated sugar. Ensure your saucepan is clean and ready.
Measure out precisely one cup of raspberries, one cup of water, and one cup of granulated sugar. Accuracy here is key for the proper syrup consistency.
Cooking the Syrup
Combine the measured raspberries, water, and sugar in a medium saucepan. Use a pot that is large enough to prevent boiling over.
Stir the ingredients together gently to begin the dissolving process of the sugar.
Place the saucepan over medium heat on your stovetop. Watch the mixture closely as it heats up.
Bring the mixture to a gentle simmer, stirring occasionally. Avoid a rolling boil, which can degrade the fresh berry flavor.
Continue to simmer for 1 to 2 minutes. You will observe the raspberries beginning to break down and release their vibrant color and juice into the liquid, forming a thick, pulpy consistency.
Remove the saucepan immediately from the heat source once the raspberries have mostly disintegrated into seeds and mush. This prevents overcooking and preserves the fresh berry notes.
Straining and Cooling
Position a fine-mesh sieve over a heatproof bowl or another clean saucepan. This setup is crucial for extracting the clear syrup.
Carefully pour the hot raspberry mixture into the sieve. Allow the liquid to drip through naturally.
Gently press the raspberry pulp with the back of a spoon to extract as much liquid as possible. Avoid forcing it too hard, as this can push unwanted solids through the sieve.
Discard the strained raspberry pulp; it has served its purpose in flavor extraction. You are now left with intensely flavored raspberry liquid.
Let the reserved liquid, now your raspberry syrup, cool at room temperature for approximately 15 minutes. This initial cooling allows it to thicken slightly.
Storage
Transfer the cooled raspberry syrup into a clean syrup bottle, a mason jar with a tight-fitting lid, or another airtight container. Ensure the container is suitable for refrigerated liquids.
Seal the container securely to prevent any contamination or absorption of fridge odors. Proper sealing is vital for maintaining freshness.
Store the homemade raspberry syrup in the refrigerator. It will retain its optimal flavor and quality for up to two weeks. ([External Link Placeholder 1: Food Safety Guidelines])
Chef Tips for Perfect Results
Use High-Quality Berries: The flavor of your syrup directly depends on the quality of the raspberries. Opt for ripe, flavorful berries, whether fresh or frozen.
Avoid Over-Simmering: Simmering for too long can cook out the fresh berry flavor, resulting in a duller syrup. Stick to the 1-2 minute window after reaching a simmer.
Gentle Straining is Key: Don’t press too hard on the pulp in the sieve. Excessive pressure can force small seeds and fine particles through, creating an cloudy syrup.
Proper Cooling: Allow the syrup to cool completely at room temperature before bottling and refrigerating. Hot liquids can create condensation in the container, potentially affecting shelf life.
Seedless Option: For an ultra-smooth syrup, consider crushing the raspberries first and then straining them through a cheesecloth-lined sieve. This extra step ensures no seed remnants remain. ([Internal Link Placeholder 2: Advanced Syrup Techniques])
Common Mistakes to Avoid
Using Underripe or Overripe Berries: Underripe berries lack flavor and sweetness, while overripe ones can be mushy and lead to a cloudy syrup. Fix: Select firm, brightly colored berries at their peak ripeness.
Too Much Simmering Time: Overcooking the raspberries can destroy their fresh, vibrant flavor and turn the syrup flat. Fix: Time the simmering process precisely and remove from heat as soon as the berries break down.
Aggressive Straining: Forcing the raspberry pulp through the sieve can result in a gritty or cloudy syrup, diminishing its elegant appearance and texture. Fix: Strain gently, allowing gravity to do most of the work, and press lightly only to extract remaining liquid.
Inadequate Storage Container: Not using an airtight container can lead to the syrup absorbing odors from the refrigerator or spoiling faster. Fix: Always store in a sealed bottle or jar to maintain freshness and flavor integrity.
Not Dissolving Sugar Completely: If the sugar isn’t fully dissolved before simmering, you might end up with a gritty texture. Fix: Stir the sugar into the raspberries and water until it looks mostly dissolved before applying heat.
Variations and Substitutions
| Ingredient | Substitution | Impact on Flavor |
|---|---|---|
| Raspberries | Strawberries, blueberries, blackberries, mixed berries | Changes the core fruit flavor profile. Each berry brings its unique sweetness and tartness. |
| Granulated Sugar | Agave nectar (use 2/3 cup), honey (use 2/3 cup), maple syrup (use 2/3 cup) | Sweeteners like agave or honey will add a slight vegetal or floral note. Maple syrup imparts a distinct caramel-maple flavor. Adjust quantity based on desired sweetness. ([Internal Link Placeholder 3: Natural Sweeteners]) |
| Water | Fruit juice (e.g., cranberry, apple), herbal tea | Adds a complementary or distinct fruity/herbal undertone to the base syrup flavor. |
| Lemon Zest (optional addition) | Orange zest, lime zest | Introduces a bright citrus note that can cut through sweetness and enhance the berry flavor. |
Serving Suggestions and Pairings
Homemade raspberry syrup is incredibly versatile. Drizzle it generously over pancakes, waffles, or French toast for a delightful breakfast treat. It transforms plain vanilla ice cream or cheesecake into a decadent dessert experience. Stir it into sparkling water or club soda for a refreshing homemade raspberry soda, perfect for summer gatherings.
For a more sophisticated touch, incorporate it into cocktails like a Raspberry Bramble or a Raspberry Mojito (using non-alcoholic alternatives). It also pairs beautifully with yogurt parfaits or as a glaze for baked goods. Consider serving it alongside grilled chicken or pork for an unexpected sweet and tangy glaze at dinner parties. ([External Link Placeholder 2: Cocktail Recipes])
Storage and Reheating
| Method | Duration | Instructions |
|---|---|---|
| Refrigeration | Up to 2 weeks | Store in an airtight container, such as a sealed bottle or mason jar. Ensure it is kept in a cool, consistent refrigerator environment. |
| Freezing (for longer storage) | 3-6 months | Pour cooled syrup into freezer-safe bags or containers. Leave headspace for expansion. Thaw completely in the refrigerator before use. Note: Texture may slightly change upon thawing. |
Nutritional Information
| Nutrient | Amount per Serving (Approx.) |
|---|---|
| Calories | 60-70 kcal |
| Total Carbohydrates | 16-18 g |
| Sugars | 15-17 g |
| Fiber | < 1 g |
| Protein | < 1 g |
| Fat | < 1 g |
| Sodium | < 5 mg |
Approximate values based on a standard serving size (e.g., 2 tablespoons). Actual values may vary depending on specific ingredients used and exact measurements.
Frequently Asked Questions
Can I use frozen raspberries for this syrup?
Yes, frozen raspberries are perfectly suitable for making homemade raspberry syrup. They often release their juices more readily when heated. Ensure you start with one cup of frozen berries, as their volume may decrease slightly upon thawing.
How do I get a seedless raspberry syrup?
Achieve a seedless syrup by using a very fine-mesh sieve and gently pressing the pulp. For an ultra-smooth result, line the sieve with cheesecloth before straining. This extra filtration step will remove even the smallest berry seeds and particles.
My syrup is too thin, what happened?
A thin syrup usually indicates insufficient simmering time or an incorrect sugar-to-liquid ratio. Ensure you simmer for the suggested 1-2 minutes after reaching a gentle heat. If it’s still too thin after cooling, you can return it to the stove briefly to simmer and reduce further, watching carefully not to overcook.
How far in advance can I make this syrup?
You can make this homemade raspberry syrup up to two weeks in advance when stored properly in the refrigerator. For longer storage, freezing the syrup is an option. This allows for preparing it well before you need it for specific recipes or occasions.
What are the best ways to serve homemade raspberry syrup?
Serve this flavorful syrup drizzled over pancakes, waffles, or crepes. It is also excellent drizzled on ice cream, yogurt, or cheesecake. Stirring it into sparkling water creates a refreshing raspberry beverage. It acts as a delightful topping for baked goods and can even be used as a glaze.
Crafting your own homemade raspberry syrup is a rewarding culinary endeavor. The straightforward process brings a vibrant, natural fruit flavor into your kitchen, ready to enhance a myriad of dishes. Embrace the simple elegance of this beautifully colored, intensely flavored syrup. Its sweet-tart finish is truly the signature of pure raspberry goodness, making every sip and bite a delightful experience. Enjoy the fresh taste of homemade